Cookies help us deliver our services. By using our services, you agree to our use of cookies. Learn more
Measuring Rough Openings Doesn't Have To Be Rough!
Posted in
Resources
|
By
March 07, 2019
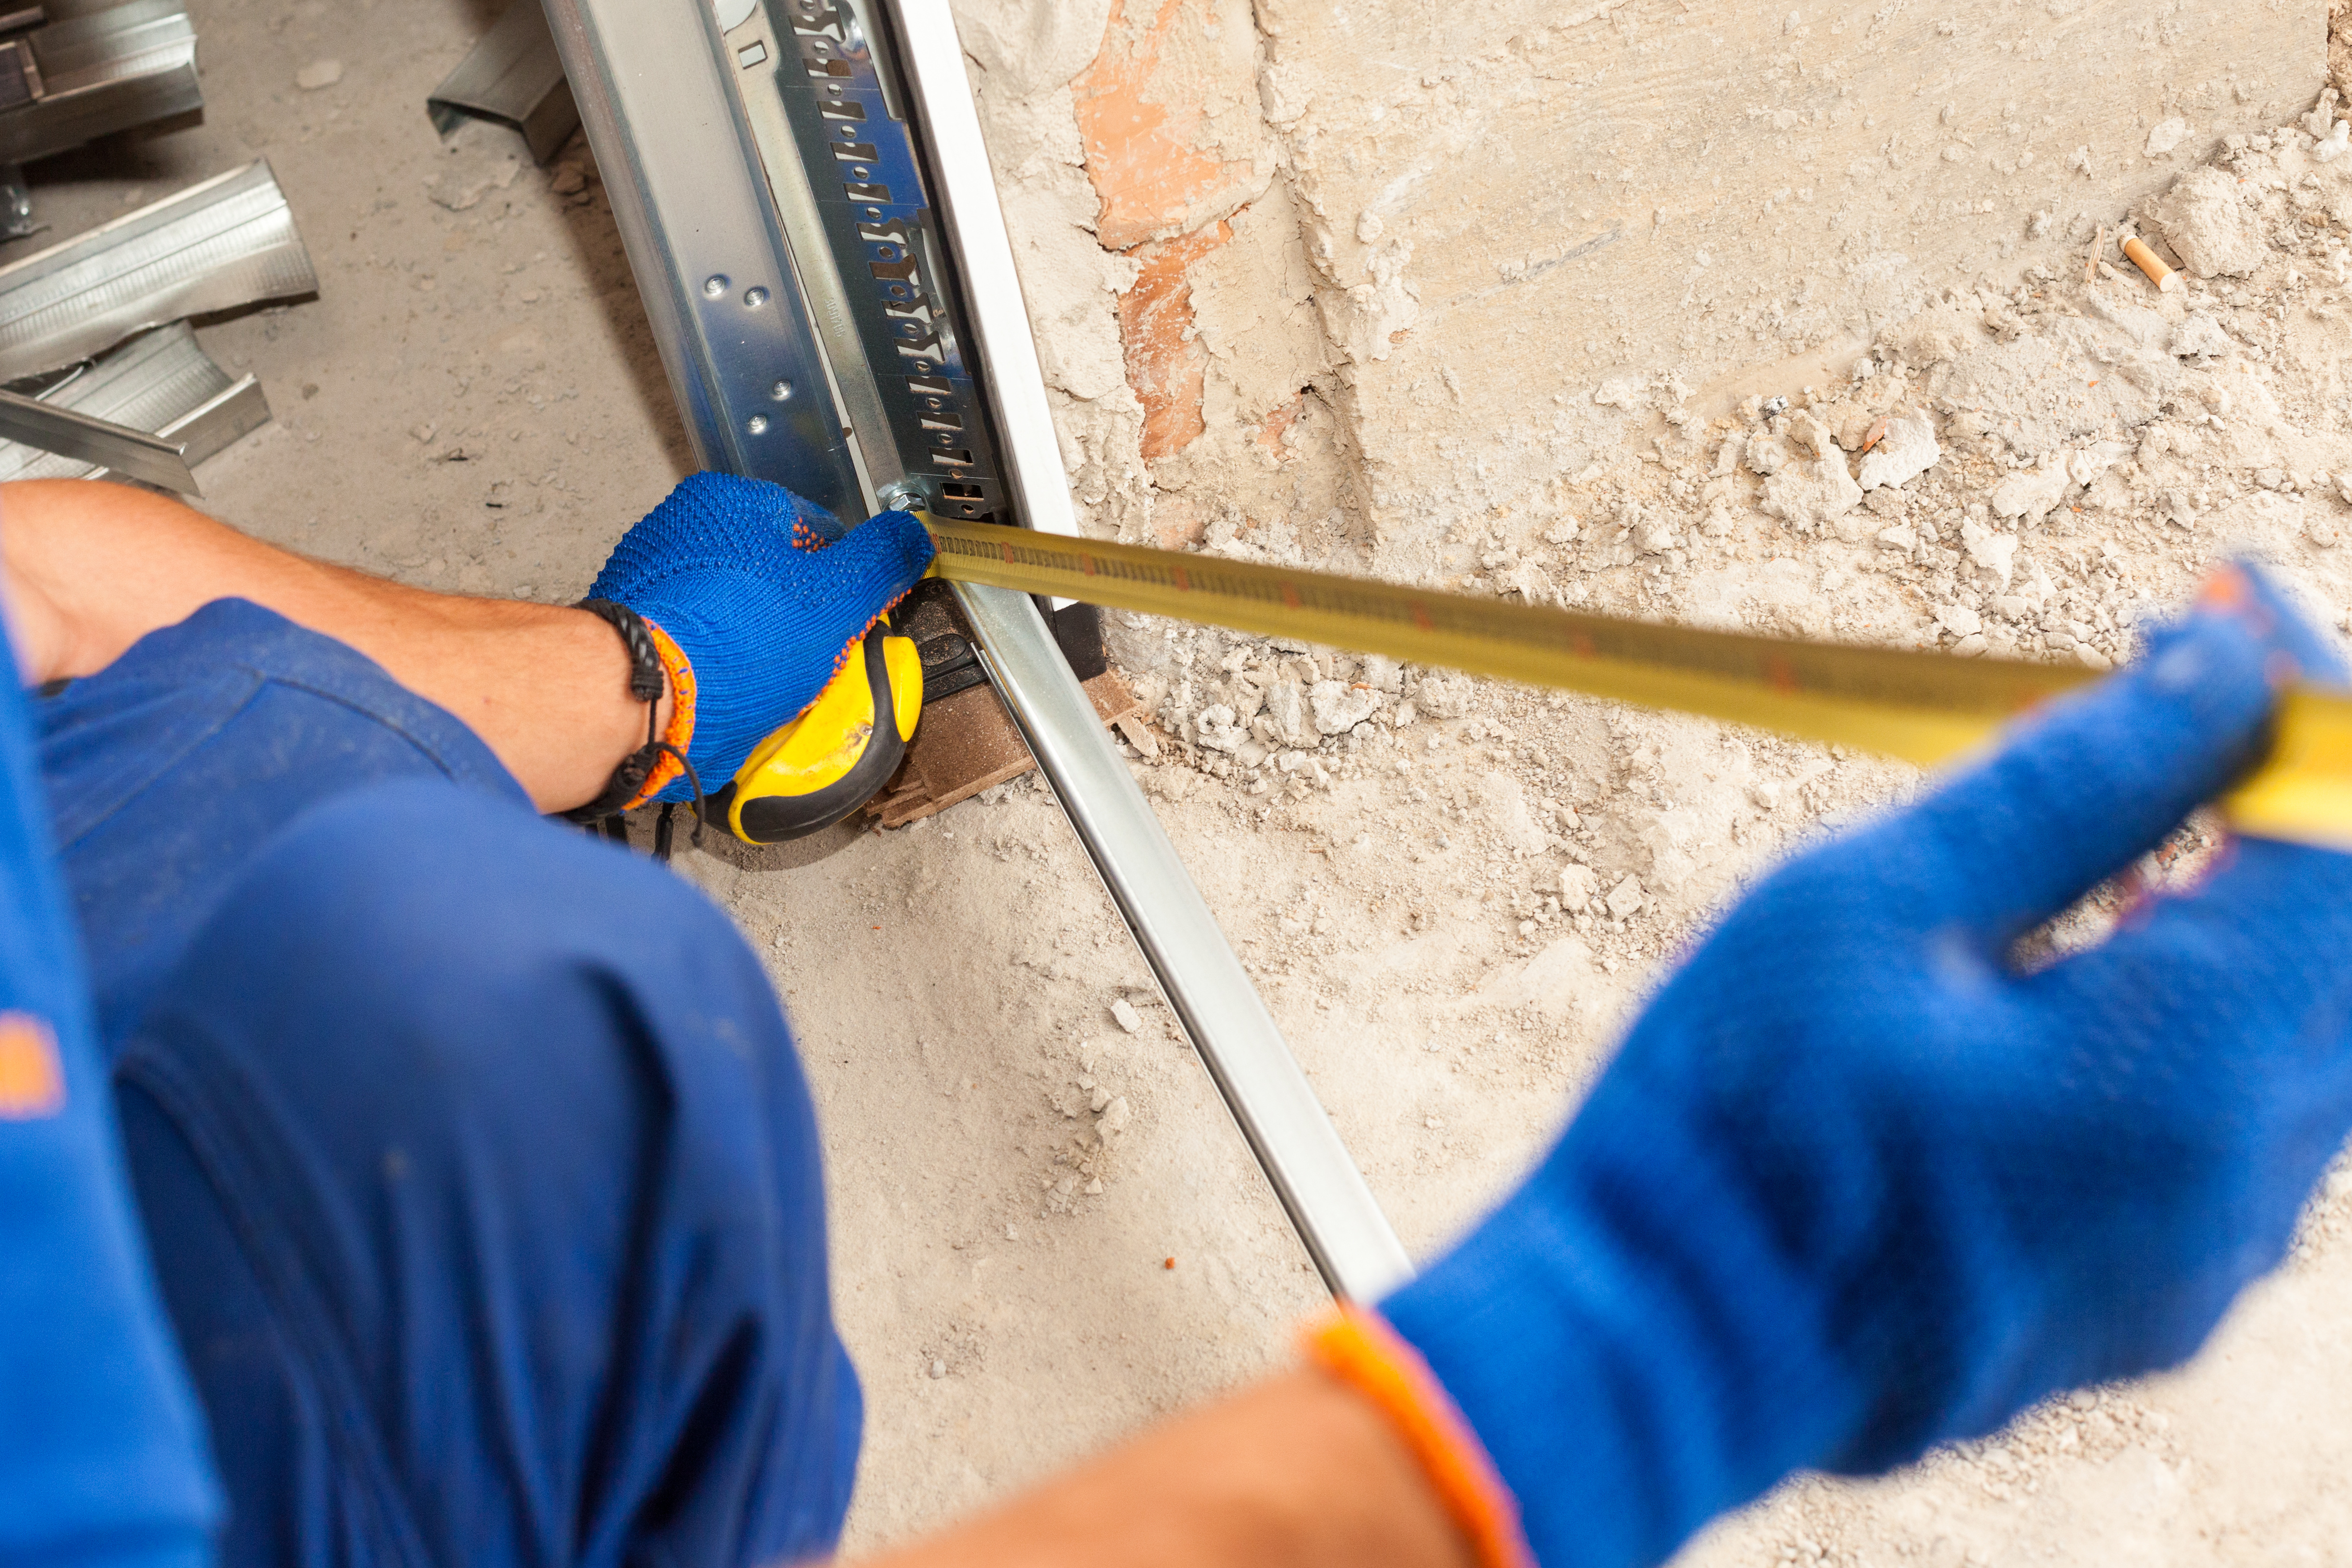
The proper measurement of your rough opening is critical to getting a solid installation on your door and frames. There are some key aspects to the measurements and we have taken the liberty to include some of these keynotes below:
ROUGH OPENINGS
| HOLLOW METAL FRAMES | OUTSIDE TO OUTSIDE OF FRAME ADD ½” | |
| WELDED OR KNOCKDOWN | WIDTH + 4-1/2” | HEIGHT + 2-1/2” |
| DRYWALL: | WIDTH + 2” | HEIGHT + 1” |
| ALUMINUM FRAMES | WIDTH + 1-1/2” | HEIGHT + 3/4" |
| TIMELY FRAMES | WIDTH + 1-1/4” | HEIGHT + 1” |
How to Install Punch & Dimple Frames (Welded or KD) in Masonry Openings

In any building project, secure openings require the proper installation of a door frame. In this video, we will demonstrate how to install punch and dimple frames in masonry openings.
- Locate the correct frame by matching the opening number to the number on the frame.
- Ensure the rough opening has the proper dimensions per the manufacturer’s installation instructions. Be sure to check the opening height in two places across the width of the opening. The width should be measured at three places – top, middle, and bottom. This will help you determine the amount of shimming that may be needed to install the frame.
Note: the rough opening shall be no less than ¼” larger in width and 3/16” in height than the frame. The maximum rough opening should not exceed 3/8” larger than the frame width and ¼” in height.
- Check the opening for plumb, level, and square. Use a 6’ level for both jambs and a framing square for the corners. If the rough opening is out of spec for plumb, level or square, do not proceed with installing the frame.
- Determine the placement of the frame within the width of the wall per the job specification. It may be centered or offset to one side of the opening. If installing a knock down frame, assemble the frame per the manufacturer’s instructions.
- If you are installing a welded frame, remove the shipping spreader bar before placing the frame in the opening.
Note: Temporary shipping bars must be removed and are NOT to be used as spreader bars to set the frame.
- Make a mark at the top and the bottom of the masonry wall. Snap a chalk line between the two marks. Set the frame into the opening using the chalk line on the wall to locate it.
- Install a setting spreader bar at the bottom of the frame.
- Verify that the head is level. If it is not level, shim under the bottom of the frame.
- Shim at the bottom of the frame, keeping the hinge side tight to the wall and adding shims to the lock side to tighten the frame to the spreader bar. If more than a ¼” shim is needed, divide the shims evenly between the two jambs. Make sure all four rabbets of the frame touch the spreader bar. This will prevent a twist in the frame.
- Add shims to the jambs and measure to ensure the appropriate width is maintained. Align the hinge jamb to the chalk line. Check the jamb for level and plumb.
- Determine the size hole needed for the anchor per the installation instructions or project specifications. We recommend drilling and anchoring one anchor at a time. Start with the bottom anchor on the hinge jamb. Drill and install the anchor. Ensure the frame remains plumb and level and then tighten the anchor to the manufacturer’s recommended torque.
- Verify the frame’s alignment is correct, then install the top and middle anchors, checking the frame alignment as each anchor is installed. Also check the jamb for straightness with a level as each anchor bolt is installed.
- Tape string to the face of the frame in opposite corners running diagonally to confirm they are in alignment. Leave the string in place until the frame is completely installed.
- Begin anchoring the strike jamb in the same sequence as the hinge jamb. Be sure to check the width at the center of the frame as you install the anchors.
- Remove the string and spreader bar. Fill any gaps between the frame and wall with caulk or a backer rod. Your frame installation is complete and is now ready for the next phase of construction.
The procedures in this manual are only guidelines. Please follow all applicable building codes, standards, and accepted practices specific to your geographic location.
Share post:
Recent Posts